Sketchbook Mapping

Every project began with research. Students had to choose a theme or concept they wanted to convey; they had to think about something they cared about and how they might portray it in an artwork.
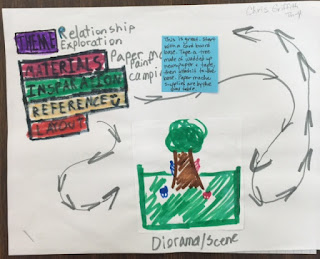
Once they had figured out what they wanted to accomplish in their artwork, they built a complex design plan through mapping it in their sketchbook. They began to research on the iPads and computers in the classroom; they could also go to the media center to use the computers there, or bring their own devices. They had to come up with at least one supporting reference picture, but they could have up to three. They uploaded them to a Google Drive account and I retrieved them and printed them, and they were added to the sketchbook maps. Once they had their theme, materials list, explanation of their inspiration, reference picture, and layout, they followed up with a paragraph that explained what their underlying meaning was to their planned artwork, and how they planned to get the piece done. Students could choose any materials I had available, or even bring in their own materials. My office has been chock-full of extra stuff kids have brought in! We had some discussion about their projects, and as I looked through their sketchbook maps, I made notes for them to remind them of what we had discussed for their projects as they began.
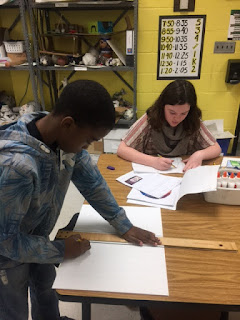
Here are some of the works in progress:
Many students are finished and it's time to reflect on their work. I will post finished products in the next couple of weeks. I'm so proud of all they have done. They have more than risen to the challenge.


No comments:
Post a Comment